Wondering how to knit for beginners without feeling clumsy? You need just yarn, two needles and about an hour: make a slipknot, cast on, work the knit stitch, then cast off.
Once you can cast on, knit and cast off, there are plenty more beginner craft projects to try.
| Item | Value |
|---|---|
| Basic stitches to learn | 2 (knit and purl) |
| Time needed to learn the basics | About an hour |
| Needles for DK weight yarn | 4mm |
| Needles for aran weight yarn | 5mm |
| Yarn to measure off for a double cast on | 1 inch per stitch |
| Rows in one garter stitch ridge | 2 rows |
These figures come from Gathered’s beginners’ guide, dated February 22, 2024, and the K-State 4-H beginner lesson. Figures can change, so check the sources before you rely on them.
What do you need to start knitting?
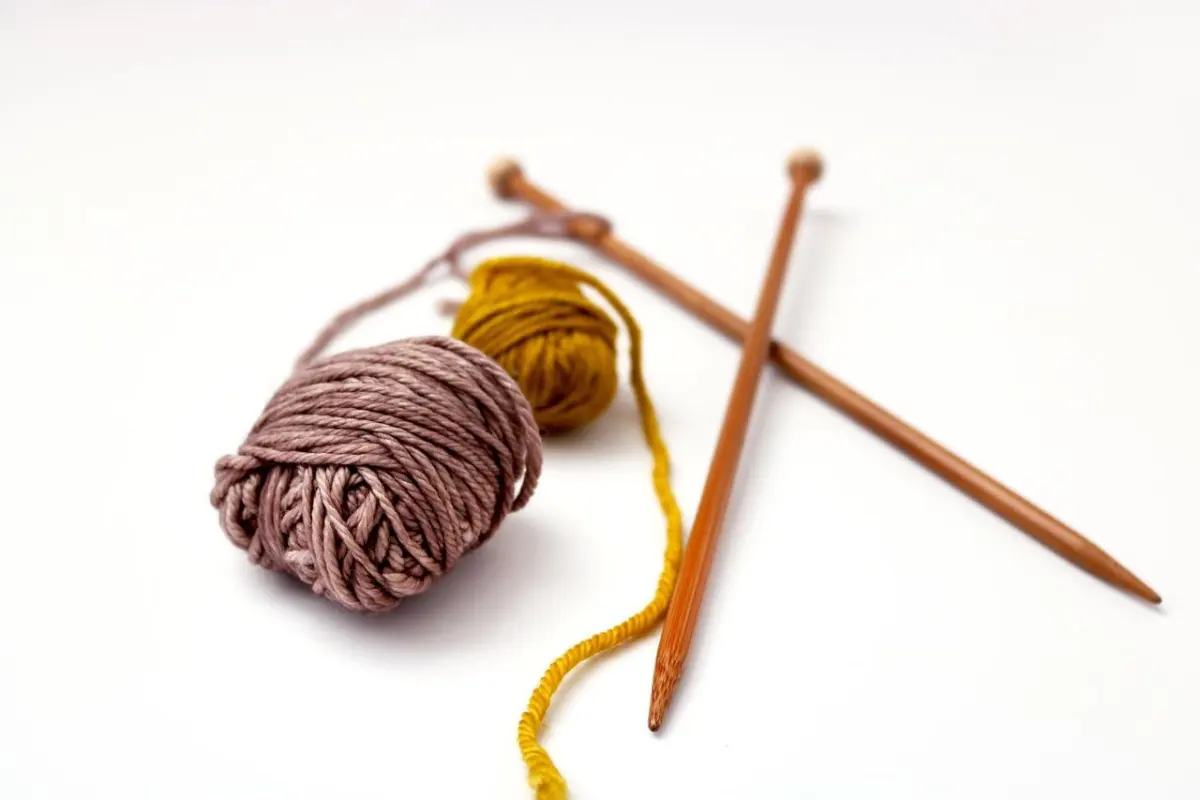
A basic kit is short. Handy Little Me lists what you need to start:
- Yarn
- A pair of knitting needles
- Scissors
- A yarn needle, for sewing in loose ends later
For your first yarn,Gathered suggests a smooth wool or acrylic in double knitting (DK) weight with 4mm needles, or aran weight with 5mm needles. It involves using two needles and a ball of yarn to build up individual stitches, so a smooth, plain yarn lets you see what each loop is doing.
Colour matters too. Lion Brand notes that beginners may find medium weight yarn in a light colour easier, because it makes it easier to see your stitches and correct any mishaps.
Check the yarn label for a recommended needle size. Sheep and Stitch says going up or down a millimetre won’t be a big deal, but any more and your knitting might be too tight or too loose. The same site recommends wood or bamboo needles for beginners.
Holding the needles and yarn
There is no single correct grip. In the pen method, Gathered has you hold the left needle about 5cm from the point, as if you were about to sharpen a pencil, and the right needle as if you were about to write with it.
If that feels wrong, try the knife method, with the right needle held like a knife and your index finger further down the needle. Whatever you choose, try not to hold the needles too tight.
Many beginners rest the yarn in the palm of the right hand and take that hand off the needle to move the yarn around it. Gathered calls this ‘throwing’ and says it is fine when you’re starting out, although it can lead to a tight and uneven tension. Later, weaving the yarn around your fingers lets you guide it without letting go of the needle.
If you are left-handed, the K-State lesson says many left-handed knitters have learned to knit the right-handed way. If that is uncomfortable, hold the diagrams up to a mirror to reverse them.
Making a slipknot and casting on
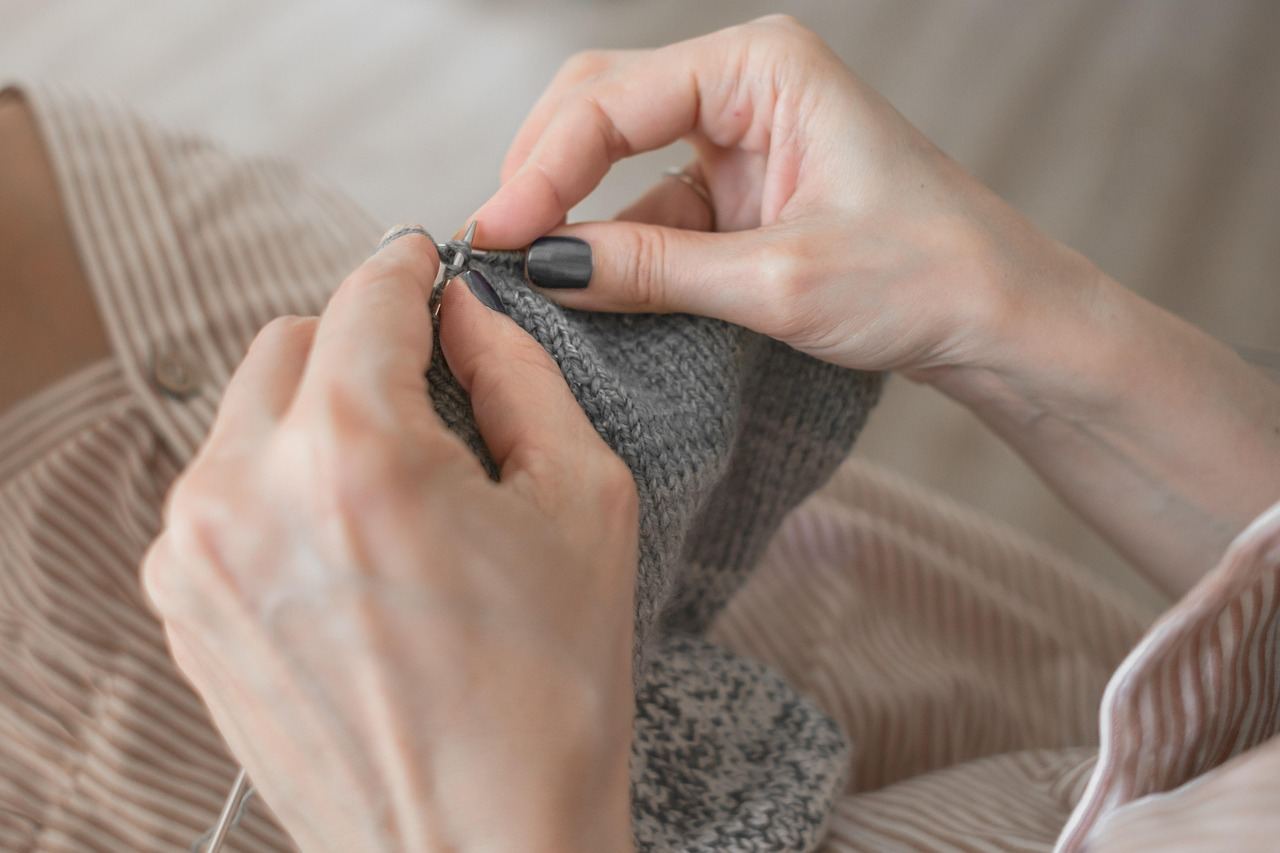
Gathered describes knitting as a series of loops pulled through one another to create fabric. Sheep and Stitch boils it down to four essential skills: the slipknot, the cast on, the knit stitch and the cast off. The slipknot is your first stitch and acts as an anchor for the others.
The double cast on in the K-State lesson works like this:
- Measure off a length of yarn, allowing one inch for each stitch you will cast on.
- Make a slipknot and slide it onto the needle in your right hand.
- Drape the short end of yarn over your thumb and the yarn from the ball over your index finger.
- Move the needle point up through the thumb loop, over and around the index-finger strand, then back down through the thumb loop.
- Drop the thumb loop and pull the short end to tighten the new stitch.
- Repeat until you have the number of stitches your pattern asks for.
Take care not to tighten the loops too much. The stitches should glide over the needle, and if you find you cast on too tightly, the same lesson says to go up a needle size for the cast on row.
Working the knit stitch
Hold the needle with the cast on stitches in your left hand, with the working yarn at the back. The K-State lesson says knitting uses only two basic stitches, the knit stitch and the purl stitch, and the knit stitch comes first.
- Insert the right needle into the front of the first stitch on the left needle, from left to right.
- Wrap the yarn around the right needle from back to front.
- Slide the right needle down and bring the point forward through the stitch, bringing the yarn with it.
- Slip the old stitch off the left needle, taking care to slip only that one stitch.
- Repeat for each stitch on the left needle.
At the end of the row all the new stitches sit on the right needle and the left needle is empty. Switch the needles over, so the full one is back in your left hand, and begin the next row the same way.
Count your stitches at the end of each row while you are learning, because that catches mistakes early. If your first rows come out tight or uneven, LoveCrafts says that is completely normal and that your grip relaxes as you work through your first ball of yarn.
Casting off and finishing
Casting off, also called binding off, is the last of the four skills: it gets your knitting off the needle. Handy Little Me adds that you finish a project by binding off and weaving in the ends.
When you cast on, leave a long tail, which LoveCrafts says you will sew in later. A yarn needle does that job at the end, tucking the tails into the fabric so the edges look neat.
For the exact cast off motions, follow a written or video tutorial and practise on a small swatch first. Your first swatch is practice, so you can pull it out and start again.
What to learn and knit next
Knit every row and you get garter stitch. The K-State lesson describes it as bumpy, the same on both sides, and not inclined to curl at the edge. One ridge equals two rows, so patterns often ask for ridges rather than rows because they are easier to count.
When you are ready, add the purl stitch. According to LoveCrafts, alternating a knit row with a purl row gives stocking stitch, the smooth V-shaped fabric on most jumpers, and mixing knit and purl stitches across a row gives ribbing, which makes cuffs and hat brims stretch.
For a first project, Handy Little Me suggests something simple like a scarf, dishcloth or blanket square, so you can practise the basic stitches without worrying about shaping.
If you fancy a break from yarn, you can read about how to start cross stitch. You can also find out what is paper quilling for another small, low-cost craft.
Frequently asked questions
Can you teach yourself to knit?
Show answer
Yes. Handy Little Me says you can teach yourself from tutorials, photos, videos, books and beginner patterns. Start with simple supplies and basic stitches, then practise little and often.
How long does it take to learn the basics?
Show answer
Gathered says all you need to learn to knit is a quiet place and about an hour. Neat, even stitches take longer, because your tension improves with practice.
Which needles and yarn should you buy first?
Show answer
Gathered suggests smooth wool or acrylic yarn, either DK weight with 4mm needles or aran weight with 5mm needles. Sheep and Stitch prefers a thick yarn and recommends wood or bamboo needles, and cheap acrylic keeps mistakes from feeling costly.
Is it normal for first rows to look messy?
Show answer
Yes. LoveCrafts says tight and uneven first rows are what everyone experiences when they start, and the stitches begin to slide more easily as your grip relaxes.