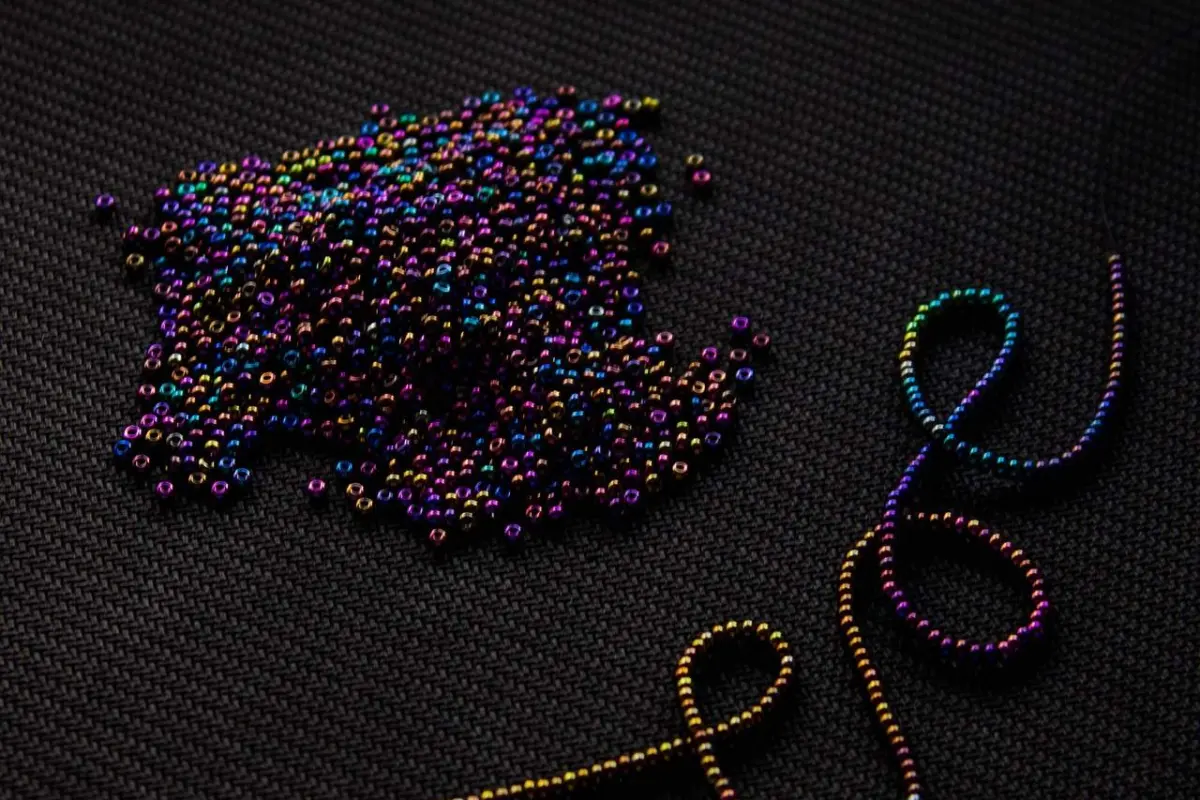
Not sure where to begin with a pile of beads? Here is how to make beaded jewelry: string beads on beading wire, finish both ends with crimp tubes and a clasp, and check the length first. It takes a few basic tools.
This guide is part of our collection of beginner craft projects for anyone starting a new hobby.
| Item | Value |
|---|---|
| Bracelet length | 7-8 inches (add 0.5 inch for the clasp) |
| Princess necklace length | 17-19 inches (most common) |
| Extra wire for crimping and clasp | 2-3 inches |
| Beading wire diameter for most Czech glass beads | .018 or .019 inch |
| Standard bead hole size | 0.7-1.0 mm |
These figures come from the Gr8beads bead stringing guide. They can change, so check the source before you rely on them.
Which beaded jewellery style should you try first?
The most straightforward form of beadwork is bead stringing, according to CJ Beaders’ beginner guide. You apply beads to beading wire, string, cord or leather, making a single strand, multiple strands or braided strands for necklaces, bracelets or earrings.
There are other styles to know about, each with its own tools:
- Off-loom beading uses a needle and thread.
- Loom beading uses a beading loom to weave beads into a beaded fabric.
- Bead embroidery sews or stitches beads onto fabric or backing.
Stringing needs the fewest supplies, so it is the sensible place to start. If you also enjoy slow needle-and-thread work, how to start cross stitch introduces a related craft you can try alongside it.
Tools and supplies for a basic strung necklace
The Potomac Beads stringing tutorial lists what a basic strung necklace needs:
- Single-hole beads
- Beading cable (beading wire)
- A clasp
- Crimp tubes
- Flat nose pliers
- A bead stopper
The Gr8beads guide adds a few more tools worth having. Crimping pliers create secure crimps on beading wire, and regular pliers are not a substitute.
- Flush cutters give clean cuts on wire.
- Chain nose pliers grip, open jump rings and tuck in wire.
- A bead board helps you design and measure the layout.
- Sharp scissors are for thread and cord.
Tiny findings and loose beads go missing quickly, so how to organize craft supplies is worth reading before your collection grows.
Choosing beads and stringing material
Hole size decides what you can string. The Gr8beads guide groups holes into three common sizes:
- Standard hole (0.7-1.0 mm): most common in Czech glass beads, and it works with beading wire, thread and thin cord.
- Large hole (1.5-2.5 mm): suits leather cord, multiple passes of wire or chunky designs.
- Micro hole (0.3-0.6 mm): found in tiny seed beads and needs very fine thread or wire.
Bead type matters too. CJ Beaders notes that Japanese beads such as Miyuki are uniform in size and shape, while Czech glass beads come in a greater range of shapes.
Beading wire is the usual choice for necklaces. It is strong, does not stretch and resists fraying, but it can kink if bent sharply and shows between beads, per Gr8beads. Wire is sold by strand count (7, 19 or 49 strands), and more strands means more flexibility.
Other materials suit other projects:
- Beading thread is flexible and nearly invisible, but it can fray on sharp bead edges and stretches over time.
- Stretch cord needs no clasp and suits simple bracelets, but it degrades over time and can break suddenly.
- Leather and cord look rustic and are very strong, but need large bead holes.
How to string and finish beaded jewelry with crimp tubes
These steps combine the Potomac Beads tutorial with the crimping method in the Gr8beads guide. Work on a bead board or a mat so the beads stay put.
- Choose your beads and clasp, then cut the wire to length by wrapping it around your wrist or using a bead board.
- Fit a bead stopper on one end and string your beads in a pattern or freeform.
- Add a crimp tube and the clasp, then pass the wire back down through the crimp tube and two to three beads. Pull it snug but not too tight, so the clasp can still move.
- Place the crimp tube in the first (U-shaped) notch of the crimping pliers and squeeze to make a crease.
- Rotate the tube 90° into the second (oval) notch and squeeze again to fold it in half. Tug gently to test it.
- Trim the tail close to the bead it exits. The Gr8beads guide suggests stringing beads over both wires for 1-2 inches to hide the tail.
- Check the length, adding or removing beads as needed, then repeat the crimp on the other end with the second half of the clasp or a jump ring.
Potomac’s tutorial points out that the clasp adds some length, so measure before you finish the second end.
How long should a bracelet or necklace be?
Standard lengths from Gr8beads give you a starting point:
- Choker: 14-16 inches
- Princess: 17-19 inches (most common)
- Matinee: 20-24 inches
- Opera: 28-34 inches
- Bracelet: 7-8 inches, plus 0.5 inch for the clasp
The same guide advises adding 2-3 inches to your desired length for crimping and the clasp. Lay the design out on a bead board first, and hold it up to test the drape before finishing.
Fixing common beading problems
Most early frustrations have a quick fix, based on the Gr8beads troubleshooting list:
- Wire keeps kinking: use a higher strand count (49 instead of 19) and handle it gently.
- Crimps keep slipping: use crimping pliers, choose crimp tubes instead of beads, or double-crimp.
- Thread keeps breaking: check for sharp bead edges and avoid pulling too tight.
- Beads will not fit: check the hole size before buying, or use thinner wire.
For a quick first project, Beadaholique says stretch cord is great for those just starting out. String the beads, tie a knot, trim the excess, and add a dab of glue to the knot for extra security.
Frequently asked questions
Can you use sewing thread to string beads?
Show answer
It is not recommended. Beadaholique’s stringing guide says to string properly and not use thread, and beading wire is the usual beginner choice.
What is the easiest first project?
Show answer
A stretch cord bracelet. Beadaholique describes the easiest stringing projects as using stretch cord and beads.
Why do you need crimping pliers?
Show answer
Gr8beads lists using regular pliers instead of crimping pliers as a common mistake because it creates weak crimps.
How do you stop stretch cord from breaking?
Show answer
The same guide recommends double-knotting and using glue for security. It also suggests thicker cord, double-stranding and replacing the cord annually.